Saturday, April 9, 2016

Finally DONE.

It's been a while, but the car is finally done.  Now I just need the weather to turn.


Sunday, June 28, 2015

Added some chrome

Over the last week we got a few big things accomplished.  We finished fitting the rest of the splash guards and temporarily installed the rear ones.  I'll put the front ones in after the exhaust gets finished.  I also installed the front and rear bumpers, which requires lowering the gas tank for the rear ones.  The painter instructed me not to tighten anything that pushes against the paint too hard for 3 months.  So, I'll have to lower the tank one more time in September to snug up the bumper bolts.  We also installed the roll bars along with the trim.  The Lemans gas cap is in as well.  I rotated it a bit after reading that some people get wind noise when it opens straight back.  I also installed the rear lights and tested them again.  The windshield came back out and I was able to fix one of the screws that holds the post to the windshield frame.  I used clear nail polish as locktite on those screws.  It was one of the things they taught us at build school.

Next on the schedule for this week is to bolt in the windshield, install the headlights and front turn signals, license plate bracket and light and side mirror.  The other thing that I am planning on this week is finishing up the windshield wipers.  This is another one of those things that I am dreading.  I'm pretty sure I have it figured out, but it is not going to be fun.  If Michigan didn't require them I would not have gone through the trouble.  This car doesn't have a roof and never will, so I will be avoiding the rain.


Sunday, June 21, 2015

Picked up the body on 6/11/15

A little over a week ago, we went up to Howell and picked up the body.  We took the chassis up on a U-haul trailer using a friend's truck.  We were able to install the body with the chassis still on the trailer.  That part only took about 5 minutes.  It took a total of about 4 hours to get the hood, trunk, doors and bumper bolts in.  One of the unfortunate things about the design of this car is that I have to lower the gas tank every time I need to get to the rear bumper bolts.  I took the chassis up there with very little gas, to make that part a little easier.  In fact, I had so little gas in it that when I tried to drive the car off the trailer when we got home it died after about 10 seconds.  Lowering the tank with it on the trailer was actually really easy and the trailer held the tank in a great spot while I played with the bumper bolts.

The white paint on the hood scoop was a little off.  For some reason some of the blue bled though.  We left it up there and the painter will be mailing it to me after it gets repainted.

There is still a lot of work to do.  I had to make new aluminum pieces to go around the radiator in the nose of the car.  The radiator I went with sits in the middle of the opening, but the Factory Five one sits off to the driver's side a little.  That meant that the 3 pieces of aluminum that came with it did not fit.  I had ordered some plain sheets of aluminum and had to bend them to fit.  I made my own little break on the workbench to bend the pieces.  It came out really well, but took a few days.  I also got the front splash guards that go in the rear of the wheel wells to fit (after making a new one for the driver's side).  This week I'll be fitting the rear ones, installing the Lemans gas cap, bumpers and the roll bars.  More pics next weekend.


Saturday, April 18, 2015

Body alignment

The body for the roadster is one piece.  The directions for the car really only tell you to put the body on and then install the bumper bolts and that should get the body where it is supposed to be.  Well, that didn't work for me.  The door jams did not wind up in the correct spot, the hood opening did not sit correctly on the driver side and the driver's front bumper bolts did not line up.  I found some posts that help to get the body lined up, but I still couldn't get it where I wanted it.  I was trying to get everything lined up before paint and was very frustrated.  One of the biggest problems was that I could not get the windshield in.  So, I called the shop that I wanted to do the body work and paint and he told me it was a common problem and that he would get it lined up.  But, there were a few things that I needed to do before I could bring the car to him.  Three months later (December 12th) I finally got the car to the painter.  Unfortunately, another Cobra got to him just before mine did.  So, with the holidays and the other car in the way, I didn't get the chassis back until the end of February.

Let me explain how the painting process goes on a fiberglass bodied roadster.  First, I take the chassis with the body on it to the painter, along with the doors, hood, trunk, rollbars, exhaust and everything else that could affect the alignment.  After the body is lined up, he puts the doors, hood and trunk on and sets the gaps so that the paint will fill it in perfectly.  Then, all the fiberglass comes off and I pick up the chassis.  While the painter finishes sanding, filling, sanding, priming and painting I install the carpet and the rest of the interior.  Then, when the body is done, I go back up and the body gets put on.  This process usually takes about 3 months.  I thought it would work out and I would get the body just before leaving on my trip to Arizona, but it was delayed and should be ready when I get back.

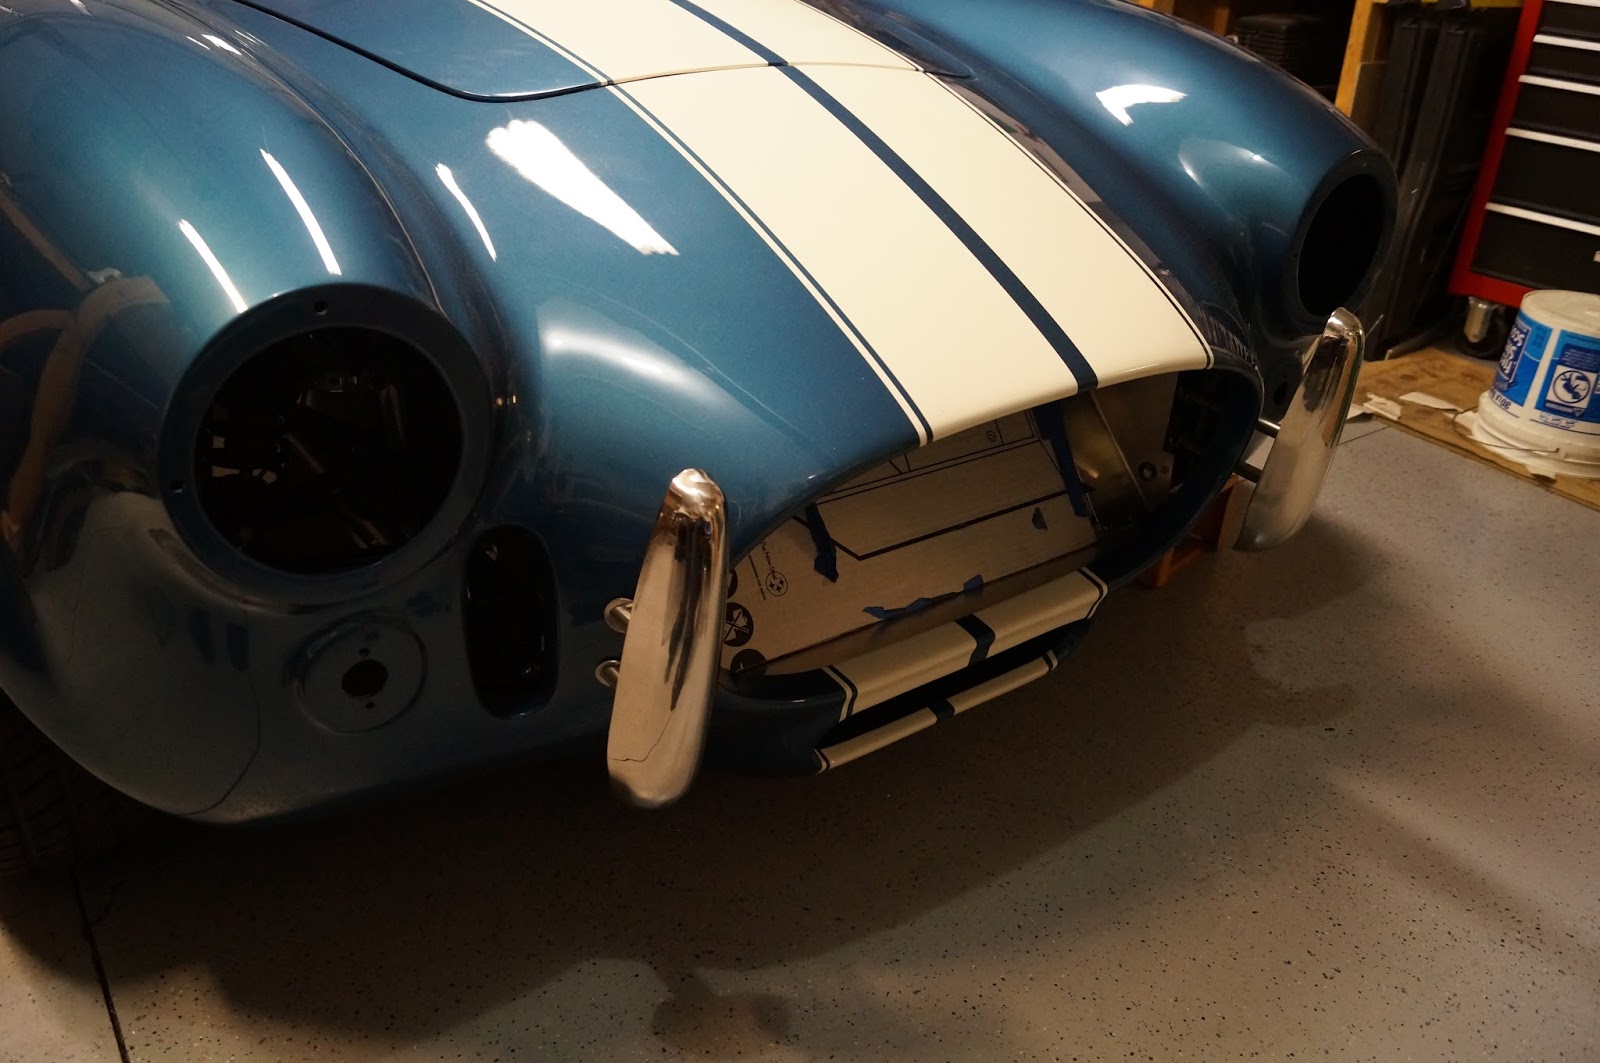
This is when I had the body on, but you can't really see any of the issues.


 This is a pic the painter sent as I was on the way up to pick up the chassis.  There is no way I could have gotten things to line up that well.


The paint shop I am using is New Reflections in Howell, Michigan which is about an hour and a half from my house.


Friday, April 17, 2015

Finished Dash

The stock dash covering from Factory Five is a thick padded vinyl.  When the gauges are installed it compresses the padding and neither of us liked the look, so we went with something that wouldn't indent.  We chose a marine grade vinyl.  It leaves a much cleaner look in my opinion.  I used the standard gauge layout and the switch holes that were already drilled in the dash.  I had to add a couple of switch holes for the heater, wipers, and a push button ignition.  We also added a grab bar for the passenger.  (It adds an aesthetic element to the empty side of the dash making it look better, in addition to being functional to hold onto.)  We used Weldwood contact cement to adhere the vinyl and 3M-90 for the vinyl as it wraps around the back.  I did a lot of experimenting with different types of adhesive and left them outside for a week in the sun to see what worked best and was the easiest to do.  This is right after the vinyl was attached, with the gauges temporarily mounted and the switches not installed.  You can see the switches in some pics that I will post soon.


Driver side footbox access hole

When I purchased my kit, it did not include access into the top of the driver's side footbox.  It is a necessity so that I can have access to the pedals and the clutch cable for any repairs or replacements should the need arise.   I did what many other builders do, I made my own access hole.  I put the body on and made a line to show what part of the box I could get to after the car was done.  Then, I cut a hole and made another piece for a panel.  I added rivnuts to the panel to make the lid easy to remove.  It has since been powdercoated the same anthracite color as the rest of the engine bay panels. These pictures were taken prior to powdercoating.  If I were to purchase a kit NOW, it would come with an access hole already built into it.